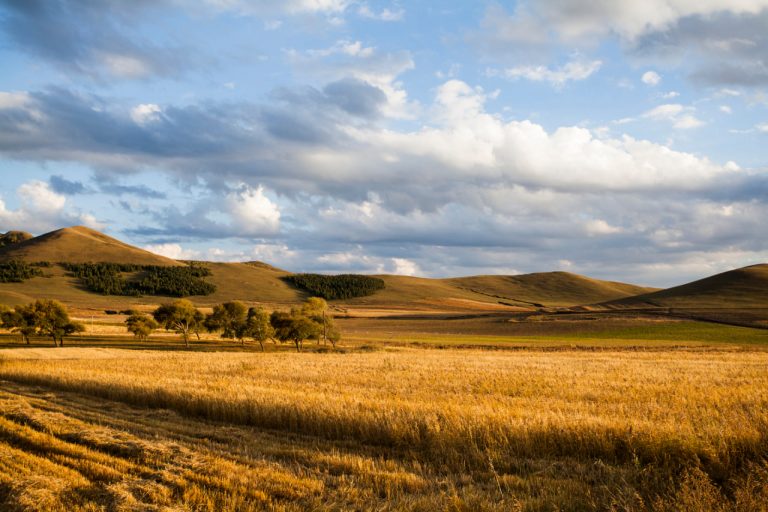
Golden hour is a photographer’s dream, offering warm, soft light that enhances landscapes with depth, texture, and mood. Occurring shortly after sunrise and before sunset, this period transforms ordinary scenery into visually stunning compositions. Understanding how to harness golden hour light is essential for creating breathtaking outdoor photographs.
Understanding Golden Hour
Golden hour refers to the period when the sun is low on the horizon, producing a gentle, diffused light with a warm color temperature. This unique light:
- Creates long, soft shadows that emphasize texture and depth.
- Produces warm tones that enhance color and evoke emotion.
- Reduces harsh contrasts, making details in both highlights and shadows more visible.
Recognizing the qualities of golden hour light allows photographers to plan and execute shots with precision and creativity.
Timing and Preparation
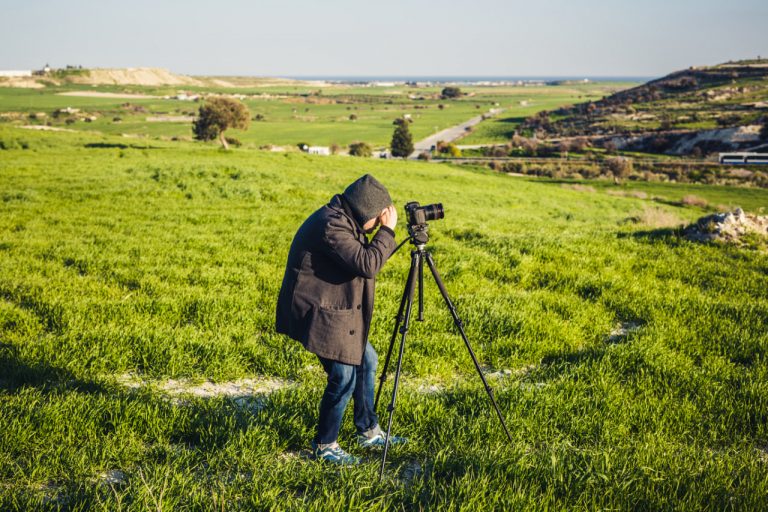
To capture golden hour effectively, preparation is key.
- Know Your Timing – Golden hour lasts roughly 30–60 minutes after sunrise and before sunset, varying by season and location.
- Scout Locations in Advance – Arrive early to find ideal viewpoints, compositions, and foreground elements.
- Plan Your Gear – Tripods, filters, and lenses are essential tools for maximizing the light’s potential.
- Check Weather Conditions – Clouds, haze, and clear skies influence the mood and intensity of golden hour light.
Proper preparation ensures photographers make the most of this fleeting, magical period.
Composition Techniques
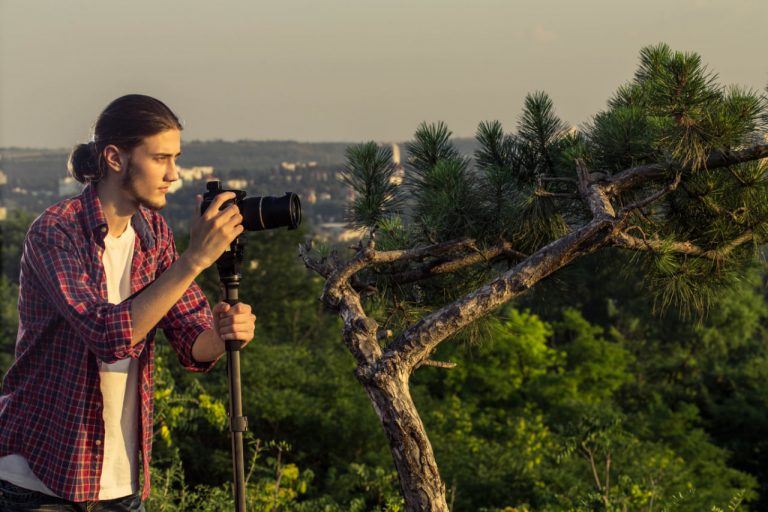
Golden hour enhances landscapes, but effective composition is essential to fully utilize the light.
- Foreground Interest – Incorporate rocks, trees, or water to add depth and guide the viewer’s eye.
- Leading Lines – Roads, rivers, or paths direct attention and create a sense of movement.
- Rule of Thirds – Position horizons and key elements off-center for balanced and visually engaging images.
- Framing – Use natural elements like branches or archways to emphasize the subject and add context.
By combining golden hour lighting with strong composition, photographers create visually compelling and emotionally resonant images.
Using Exposure and Camera Settings
Golden hour light requires thoughtful camera settings to capture its subtle nuances.
- Aperture – Use f/8–f/16 for landscapes to achieve sharpness throughout the scene.
- Shutter Speed – Adjust for correct exposure and, if desired, capture motion in water or clouds.
- ISO – Keep ISO low (100–400) to maintain image quality and minimize noise.
- White Balance – Use “Daylight” or custom settings to retain warm, natural tones.
Experimenting with these settings ensures images accurately reflect the beauty and warmth of golden hour light.
Creative Use of Light
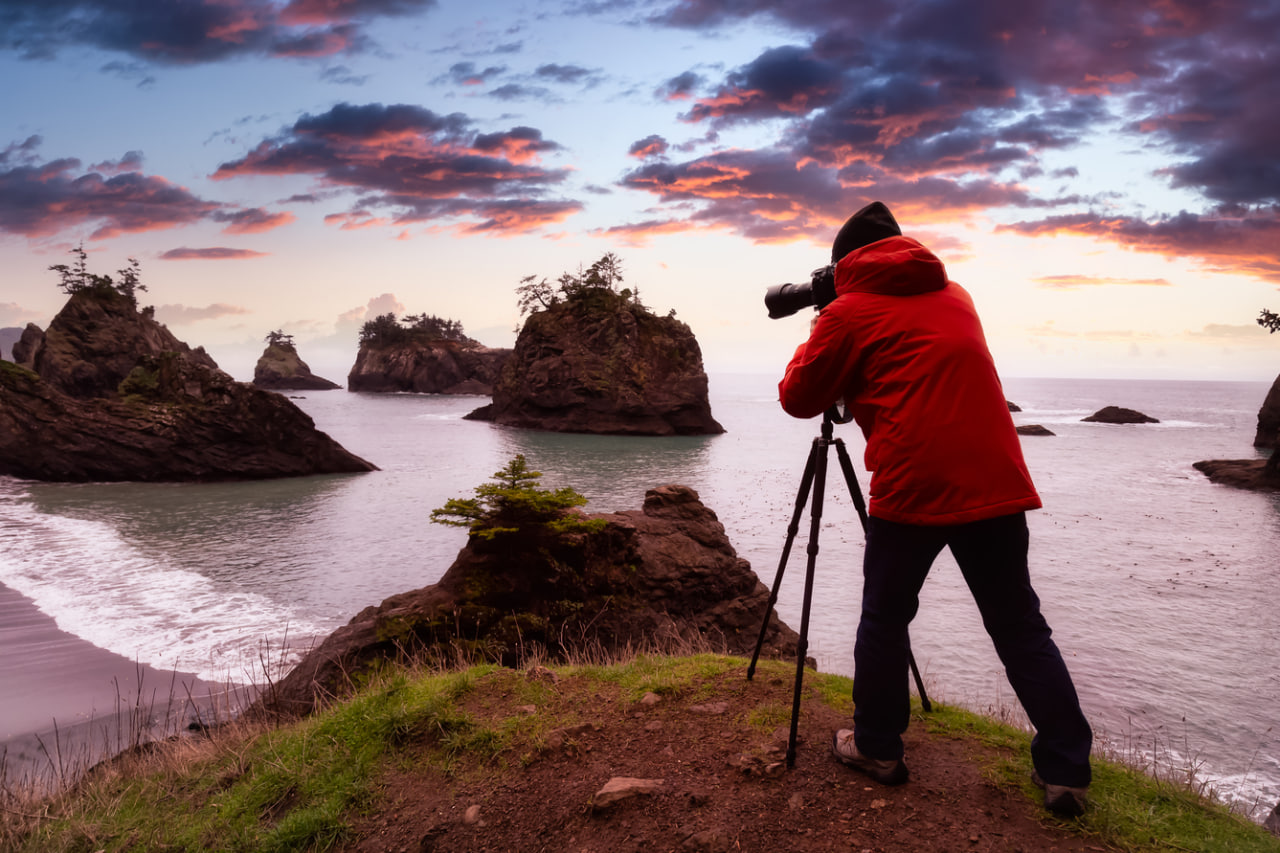
Golden hour provides opportunities for artistic expression:
- Silhouettes – Position subjects against the sun for dramatic and emotive effects.
- Backlighting – Highlight edges of trees, grass, or mountains to create depth and dimension.
- Reflections – Capture water surfaces or wet terrain to mirror the warm sky and enhance composition.
- Layered Landscapes – Use the soft light to emphasize layers of hills, mountains, or forests for added depth.
Creative exploration during golden hour elevates ordinary scenes into extraordinary visual experiences.
Post-Processing Tips
Post-processing can enhance golden hour images without compromising their natural beauty.
- Adjust Highlights and Shadows – Retain detail in bright skies and darker foregrounds.
- Enhance Warmth and Saturation – Subtly boost colors to reflect the golden light.
- Sharpen Key Details – Emphasize textures in rocks, foliage, or water.
- Crop and Refine Composition – Ensure framing complements the light and subject placement.
Thoughtful editing preserves the authenticity of the scene while enhancing its visual impact.